Mandala
When you have completed this project, submit a photo of your finished artwork on Canvas
Essential Question:
How do artists & designers create works of art or design that effectively communicate?
Essential Standards:
B.V .1.2- Apply the Elements of Art and Principles of Design to create art.
B.V .1.4- Recognize how Elements of Art and Principles of Design are used in art.
B.CX.1.4- Interpret art in terms of cultural and ethnic context.
Content Objective. . . Students will examine historical mandalas and demonstrate understanding of patterns, shapes and symmetry.
Language Objective . . . Students will create a mandala that uses the elements of line, shape, and color and the principles of radial balance, unity, and pattern.
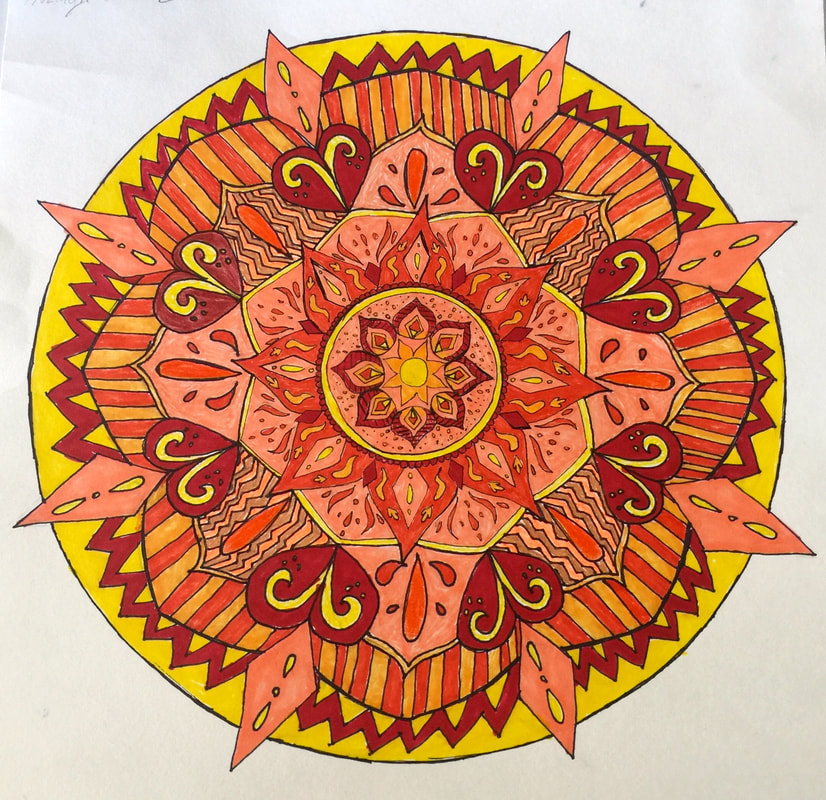
ROZELYN WALTON, JCHS Student
|
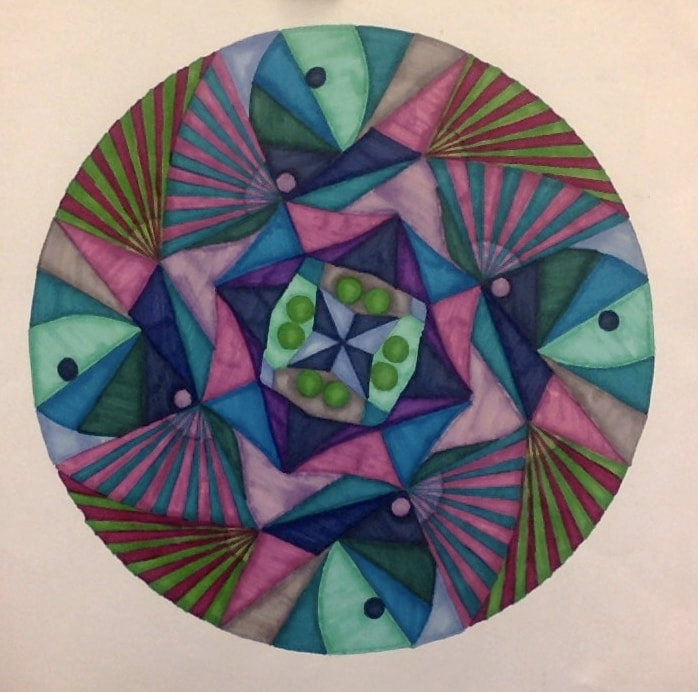
JULIA ROCKWELL, JCHS Student
|
Sketchbook Notes
Write the definition of Mandala in your sketchbook
Mandala- Mandala means Circle. These designs tend to be in a circular format and are normally filled with patterns. One reason Tibetan monks create mandalas is for mediation and focusing. Traditional mandalas are made with sand and take about 5-7 days, people travel from all over the world to watch the monks create their designs. After they are finished they sweep up the sand and spread it over water to symbolize the impermanence of life.
Download these Power Points to find out the history of the Mandalas
MANDALA PPT
MANDALA'S AROUND THE WORLD
INSPIRATION
Generating Ideas - Think about the direction you want to go in with your project, and try to make it as unique as possible.
Will your shapes be geometric, organic, or a combination of both?
Will your lines be straight, curvy, thick, thin, jagged, etc.
Researching- Look up reference images of mandalas and patterns online:
Possible Search Terms: Zentangle designs, Complex patterns, Clothing patterns, Patterns from nature, Mandala
Patterns
Videos
Sand Painting
Light Mandalas
Web Sites
Meaning and Symbolism
What is a Mandala
Mandala Examples
Mandala's Gilded with Gold
https://www.architectureoflife.net/en/mandalas-gilded-with-gold/
https://www.architectureoflife.net/en/mandalas-gilded-with-gold/
.DESIGN
Visual Development - Begin by sketching out a few ideas to figure out what direction you will take this project
- Think about the patterns and colors that were important to the Tibetan Monks, choose patterns based on
the things you see everyday and things that are important to you!
- In your sketchbook you should have 3 designs or pattern practice squares. drive.google.com/file/d/1ScQpZZfeP19HBEZ42nT0UfNENtvK9duS/view?usp=sharing

CREATE
Final Design-
Directions:
a. Find the center of your circle by lightly drawing a line diagonally from corner to corner. You really only need
the line drawn in the very center. This will prevent the need to erase the line later.
Final Design-
Directions:
a. Find the center of your circle by lightly drawing a line diagonally from corner to corner. You really only need
the line drawn in the very center. This will prevent the need to erase the line later.
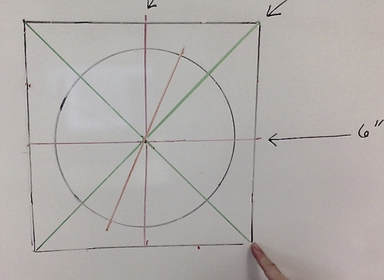
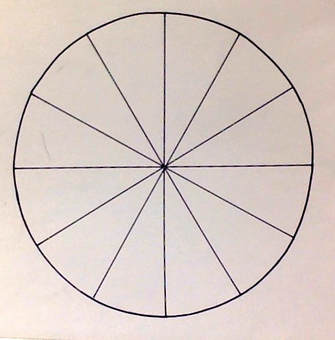
b. Place the square (12" x 12") piece of blank paper over the Mandala stencil. Use the light box, the tracing circle
and a ruler to lightly trace your guide lines. The circle can be divided into smaller sections to help with the
design.
and a ruler to lightly trace your guide lines. The circle can be divided into smaller sections to help with the
design.
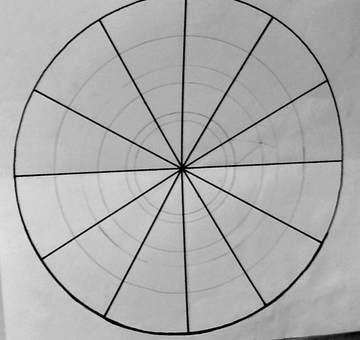
c. Concentric circles (circles that all have the same center, fit inside each other, and are the same distance apart all the
way around) can be added inside of the outer circle to divide space and help you create your design
way around) can be added inside of the outer circle to divide space and help you create your design
D. Create your pattern. You can draw one wedge and trace it in each shape or you can start in the center and
freehand the design as it moves out.
Option 1 : The design can be repeated in each of the wedges. You may make one design and trace it in each
section to help keep sections the same.
Option 2: Create 2 different designs that alternate between wedges
Option 3: With pencil, continue adding your designs & patterns in layers. Work around the circle as you
add parts (this helps to keep the design in balance)
d. After you have drawn your design in pencil, make sure you have checked the rubric. Then lightly outline
with a ultra-fine black sharpie.
e. Erase all pencil marks. Take a photo of your Rough Draft ( inked but uncolored) Mandala and turn it in to
Schoology for a grade
f. Fill in the rest of the design with the color scheme of your choice. Choose a color scheme that is
personally interesting.
- use this link to help you make color choices: Color Scheme Generator #1 Color Scheme Generator #2
- When filling in design with color, make sure you are using the correct marker techniques!!
g. Remember to have Radial Balance in all parts of your design- drawing & color design
Refine
Ask 3 people what is working and what needs to be improved and make any changes as necessary.
Remember:
a. Lightly erase pencil and stray marks to create a neat design
b. Use color to create visual interest
c. The mandala should fill in most of the square
d. Each design needs to be as close as possible to the one next to it, so that the
whole paper is filled with patterns and your mandala.
e. Be very neat. When you draw things in pencil, place a scrap of paper under
your hand to prevent smudging.
