Painted Wine Bottle
When you have completed your art piece, take a photo of your finished art and turn it in to Canvas.
For this project, you will be painting a wine bottle. There are tons of online examples for designs and ideas. Take some time to plan out your design and colors before you begin.
Choosing the Bottle
There are many wine bottles inside the shed (down the 2nd row last two bookshelves on the left). Don't use the bottles found on top of the black metal cabinet in the room. These were set aside for still life drawings. Below are some things you need to consider when choosing a bottle:
Removing the label
Step 1: Submerge wine bottles in warm soapy water until labels easily come off (this can take anywhere from 10-20 minutes).
Step2: If you are having difficulty removing labels, try holding the bottles under warm water and use a putty knife to scrap off excess label/glue. Don't let paper go down the sink drain.
Step 3: Make sure soapy water is rinsed out of bottles and let bottles dry.
Directions
Step 1: Paint your base color over the primer or directly on the bottle
Step 3: Depending on the color of your base coat, use a Sharpie Marker, Ebony pencil or white charcoal pencil to draw on your design
Step 4: Paint your design using acrylic paint. Some colors may require two coats
Step 5: Sharpie marker can be used to outline your design
Step 6: Small items may be glued on to your bottle (shells, beads, buttons, ribbon, cord, etc.) These items should be accents rather than creating a 3-D bottle. Your painted design should be the focus.
Step 7 (Optional): Spray your bottle with a clear gloss coat.
Other Considerations
Be Neat
Cover 95% of the bottle with paint and extras
Use details and complex designs
Choosing the Bottle
There are many wine bottles inside the shed (down the 2nd row last two bookshelves on the left). Don't use the bottles found on top of the black metal cabinet in the room. These were set aside for still life drawings. Below are some things you need to consider when choosing a bottle:
- Shape - Although many bottles are similarly shaped, certain shapes may work better with your design than others.
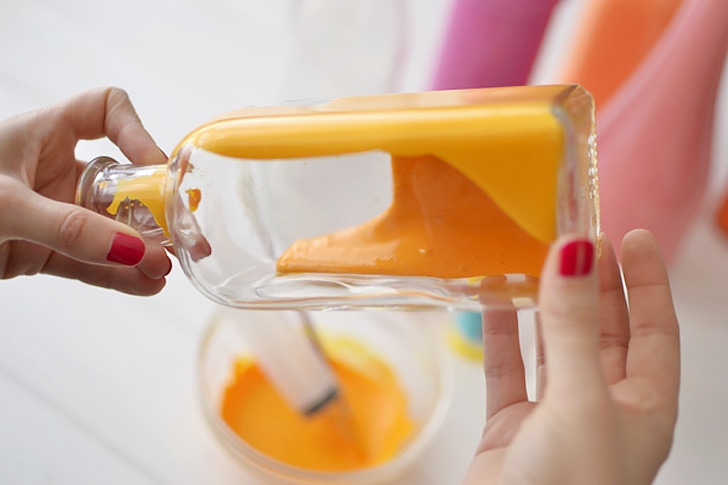
- Color - There are a varieties of colors available (clear, brown, green, frosted, blue, etc). Most of the paint will be on the outside of the bottle, but it can be poured and swirled around the inside.
Removing the label
Step 1: Submerge wine bottles in warm soapy water until labels easily come off (this can take anywhere from 10-20 minutes).
Step2: If you are having difficulty removing labels, try holding the bottles under warm water and use a putty knife to scrap off excess label/glue. Don't let paper go down the sink drain.
Step 3: Make sure soapy water is rinsed out of bottles and let bottles dry.
Directions
Step 1: Paint your base color over the primer or directly on the bottle
Step 3: Depending on the color of your base coat, use a Sharpie Marker, Ebony pencil or white charcoal pencil to draw on your design
Step 4: Paint your design using acrylic paint. Some colors may require two coats
Step 5: Sharpie marker can be used to outline your design
Step 6: Small items may be glued on to your bottle (shells, beads, buttons, ribbon, cord, etc.) These items should be accents rather than creating a 3-D bottle. Your painted design should be the focus.
Step 7 (Optional): Spray your bottle with a clear gloss coat.
Other Considerations
Be Neat
Cover 95% of the bottle with paint and extras
Use details and complex designs
Turn bottle to spread paint
https://arts.onehowto.com/article/how-to-paint-glass-bottles-6139.html
Websites
Bottle Examples
Refinement
Clean up painted edges, etc. Repaint areas that need second coats, Add more detail to areas that are too simplistic.
Bottle Examples
Refinement
Clean up painted edges, etc. Repaint areas that need second coats, Add more detail to areas that are too simplistic.
