Essential Tips to Take Great Art Reference Photos
www.erikalancaster.com/art-blog/how-to-take-your-own-art-reference-photos
8/30/2017
Do you often use other people's photographs as references to create artwork? Have you ever tried using a specific photograph to create a drawing or painting just to find out that it's actually working against you throughout the process?
I usually like having reference photos or real life objects in front of me to get inspired by when creating an artwork. Even though I am not particularly interested in taking the hyperrealist route, I use photographs because they remind me of details that I may or may not choose to include in my painting (or drawing), and might otherwise forget. I have found that, at times, it is these little details in photographs that my painting was lacking in order to become great.
Many artists recommend printing out the picture before starting a painting and working from it in order to ensure colors, values and proportions are true to the image. If you are going for something very realistic or simply believe it will be more comfortable for you, go ahead and print the image. I personally don’t because my style doesn't involve recreating images 100%.
I personally don't believe in tracing because I don't feel that this practice helps exercise observational and drawing skills as much. I really recommend not doing it after you have surpassed that initial level of drawing, no matter how hard it may be at first. I view imperfections and deliberate modifications by the artist as good things.
Getting back to photography, making time to take photos of the subjects you are most drawn to is incredibly important for an artist. In a previous post I talked about how sometimes it’s difficult to make time for this. I've shared links to sites that offer free quality photos that you can use to create artwork from and even sell.
Read this post here:
My Favorite Free Image Sites & Two Examples of References with Finished Illustrations
These sites are lifesavers for us who are extremely busy and don't always have the time necessary to do an actual photo session. I don't think there is anything wrong in using photos that aren't ours in these cases, as long as we have permission to do so. I believe that using them to get daily practice in is SO much better than doing nothing at all.
In my blog post When and How to Use Other People's Photos to Create Art I explain how to go about doing this safely and in a way that ensures you'll still be making as much artistic progress as possible.
However, there is nothing as rewarding as creating an artwork completely from scratch. Going though the process of brainstorming and visualization, finding the actual object(s) you want to shoot, sketching out composition ideas and arriving at the photo that you will later be using to create your artwork, may be a lot of work, but it is totally worth it at the end.
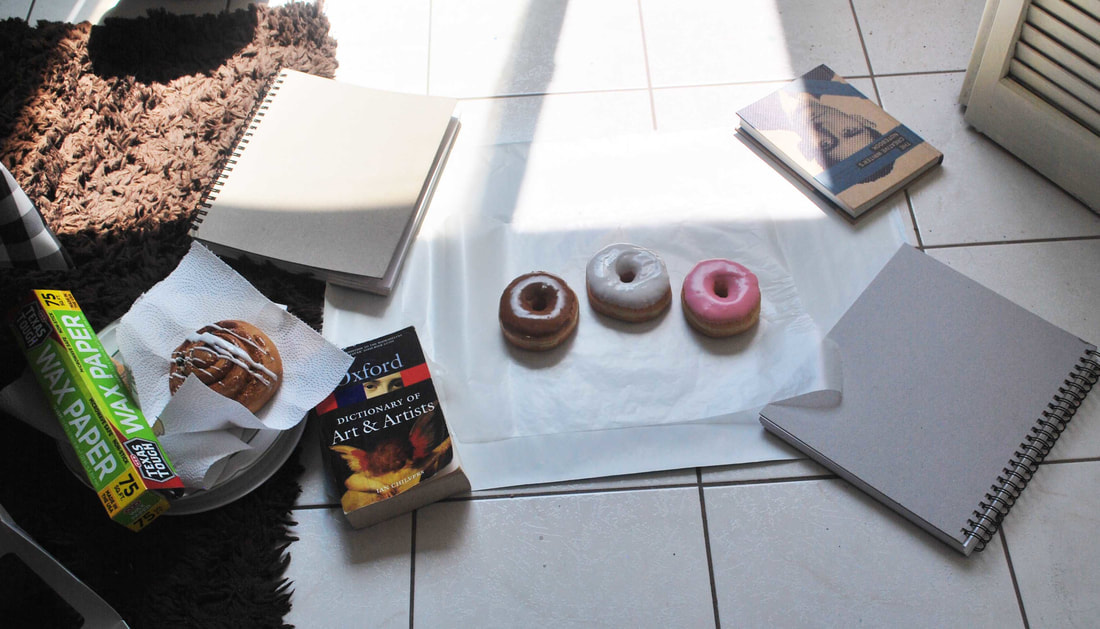
Photo session set-up in my studio. Not eating these was super hard! You can see here the harsh sunlight entering through the window. I avoided placing my subjects in direct light. Time of the day wasn't ideal.
Tips to Produce Great Reference Photos
It is important to know that simply taking a photo doesn't ensure that it will be able to be used for a drawing or painting. Things like resolution and lighting can make a photo extremely difficult to work with and even result in bad art.
1. Sketch ideas and visualize your final composition
The more objects you are including in your photo, the more essential this step is. All great photos have a focal point and you must consider what this is going to be in your picture. Essentially, objects have to be placed in such a way that the viewer’s eyes naturally move towards the object of most importance.
2. Have balance and harmony in mind, always
Keep in mind that compositions don't have to be symmetrical in order to be balanced. If you are shooting a variety of objects together, I suggest making it interesting and placing them in a way that results visually pleasing instead of in an obvious centered, symmetrical manner.
If you lack a trained eye, the ever-so-popular Rule of Thirds is something that you can research. This "rule" states that, to achieve an effective visual composition, a 3x3 grid has to be visualized within it. Imagine there are two horizontal and two vertical lines dividing the picture into 9 equal rectangles (or squares). Whatever we want the focal points to be in our compositions should be placed along the intersections of these lines. The basis for this "rule" is that the human eye will naturally move toward focal areas when images are divided into thirds. Finally, do different visual elements included in your photograph (color, texture, shape, etc.) combine well to create an interesting, visually aesthetic composition?
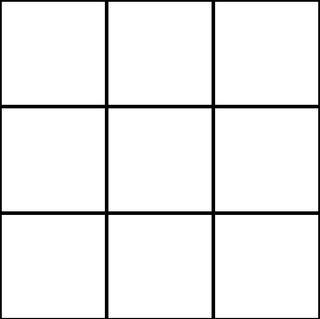
Rule of Thirds. 3x3 grid.
3. Make sure you are taking high resolution photos
It's very difficult to create an amazing piece of art using a blurry and pixelated photo. Though the amount of detail rendered will be entirely up to you and your particular art style, you want to have the option of adding in intricacies as needed and be able to zoom in whenever necessary.
4. Try to always use natural lighting (if you don't have special photography lights set up)
Using flash makes people and objects look flat and washed out. Of course, if you have photography equipment like lighting and reflectors and you know what you are doing, go for it! I personally don't, so I try to take my photos in the morning before noon or in the afternoon when sunlight is not at its harshest so that shadows and highlights are soft and not too distracting/dramatic.
In my blog post How to Take Your Own Art Reference Photos I talk about why making time to take your own art reference photos is important. I also include a video in which I take you into my studio as I do a still life photo session!
5. Think: What angle will suit this object best?
Even if you already have initial ideas sketched out on paper, move around during the shoot and move your different elements around, as well. Take a lot of photos in a variety of angles and play around with perspective. It would be a shame to waste this opportunity!
6. Consider background colors
Personally, I create a lot of artwork with white or very simple backgrounds, so I like preparing white backgrounds for my subjects (usually cardboard or fabric) when taking photos. This makes it easier for me to clean up the image in Photoshop so that I can concentrate on the object I am painting.
However, if you are setting up an entire composition to work from, I suggest using a neutral color background that will not distract the viewer from the focal point. Or, if you are going for something colorful, think if the background color plays well with/enhances the object(s) placed upon it? Think about color combination and contrast when selecting objects. Perhaps it's time to bring out our Color Wheels?
7. Take a lot of photos and keep them organized
Once you start doing your own photo shoots it's in your best interest to keep your reference photo library organized. Even if you don't end up using the photos in the next few months, you could create art or studies with them in the future. I like to name my folders according to the subject type: Portraits, Still Life, Cityscapes, Indoor Scenery, Landscapes, Animals, etc. Naming each folder with the date of the shoot could also be useful.
8. Remember, your photographs are references
Don’t be afraid to remove things that you think don't add to the final composition. I have also used two or three different references in the past to create one same artwork by cutting separate elements and combining them into one image using Photoshop. You can also change colors! Play around with your photos in photo editing software and see what happens. Visualizing and modifying references gets easier the more experienced you become.
9. Decide whether you will print your photograph or work from your computer screen
Experiment and see what works best for your particular process and artwork style. Neither of these is correct or incorrect. Just make sure you set yourself up for an efficient painting process by placing the photograph or computer screen at a comfortable angle and eye level.
10. You don't necessarily need a fancy camera
Most phones have excellent cameras now-a-days. Just make sure you have your brightness and resolution to the max. Also, clean your lens before you start. And, remember, always avoid using flash. Flash is the worst.

Before starting with the photo session, I made sure to sketch out some ideas.
Here are a couple of good pictures I ended up with that I will definitely be using to create some paintings. Try not to get too hungry!
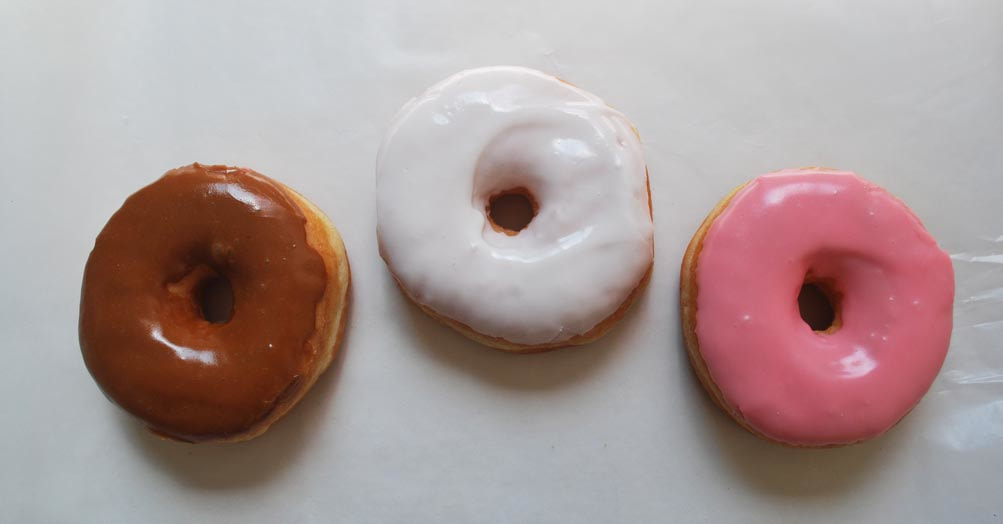
Picture of three doughnuts to use in painting.
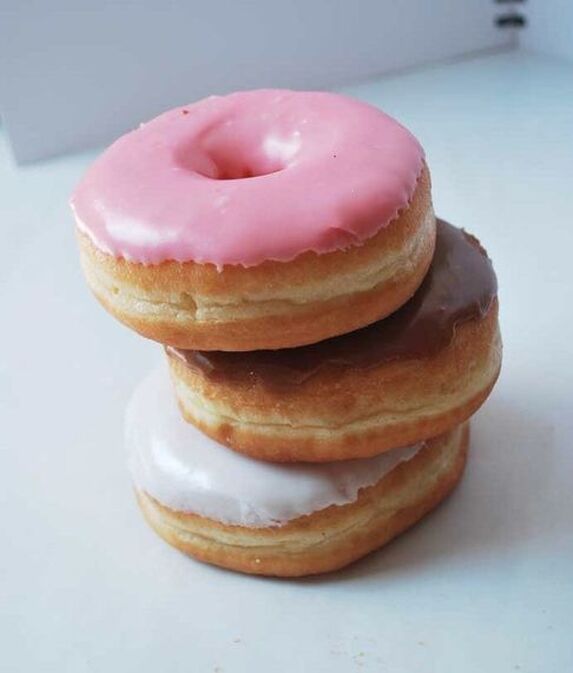
Picture of three stacked doughnuts to use in painting.
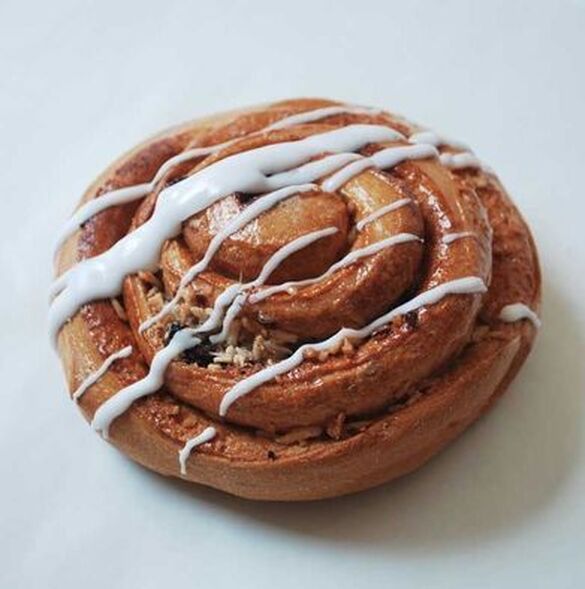
Picture of a cinnamon roll that I will be using in a painting later!
